Time flies, and it’s already mid-April! There have been some recent life updates that have given me more time to work on making infrastructure improvements, so today I just want to touch upon some of the things I’ve done in the last month or two.
Pi Hole
A recent local improvement was finally deploying Pi Hole. In short, it’s an open-source DNS resolver that black-holes any request to advertisement domains out of the box. I recall stumbling upon Pi Hole a number of years ago, where it was primarily running on a Raspberry Pi (when those things used to be way cheaper than they are now), but nowadays they have Docker images. Hurray!
Configuring it was pretty straightforward: it had a sample docker-compose.yaml template, which I referenced, and tinkered around with in order to put the administrative user interface behind my internal reverse proxy, and therefore behind Google/OpenIDC using mod_auth_openidc, where authentication just worked.
Since I use Active Directory at home for experimentation, some layer of indirection was needed for the DNS resolution. I opted to have each domain controller’s upstream DNS resolver point towards the Pi Hole, and the Pi Hole’s upstream DNS resolver would be both Cloudflare’s 1.1.1.1 and Google’s 8.8.8.8. Therefore, all local domain DNS queries are resolved by AD, and all other requests are forwarded to the Pi Hole, where DNS filtering can happen.
So far, my experience with it has been great. All the mobile ads have become placeholders that just don’t load, and general loading times seem to have been slightly improved, although that might just be a placebo. I also get this benefit when I connect my smartphone to VPN: DNS filtering is automatic and requires no further intervention from me. Ad-block on the go!
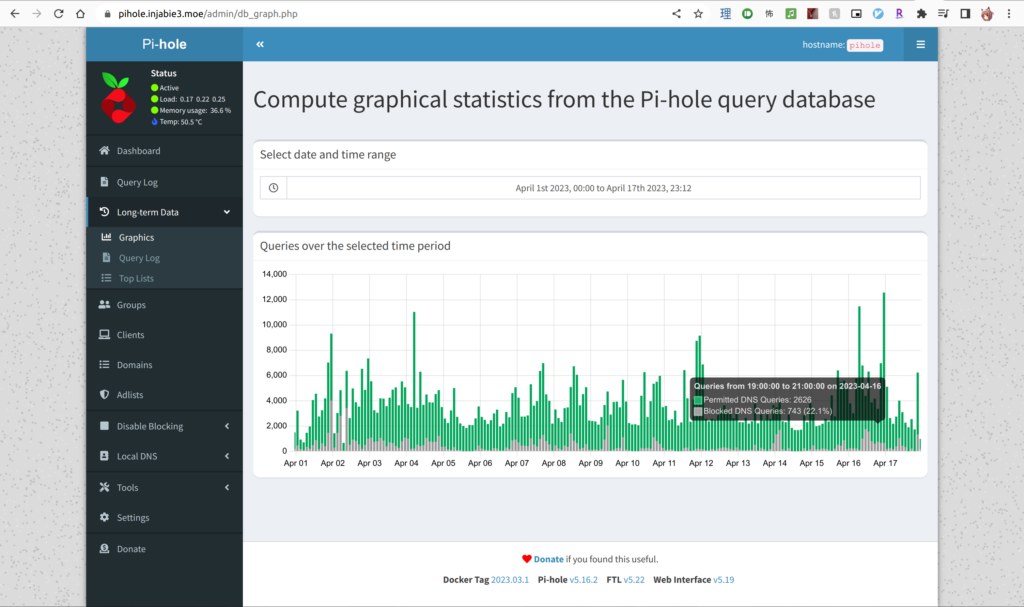
Pi Hole also stores some historical data, so I can see it pretty nicely here. I’ll be looking to see if I can visualize this data in Grafana at some point.

New NAS Drives
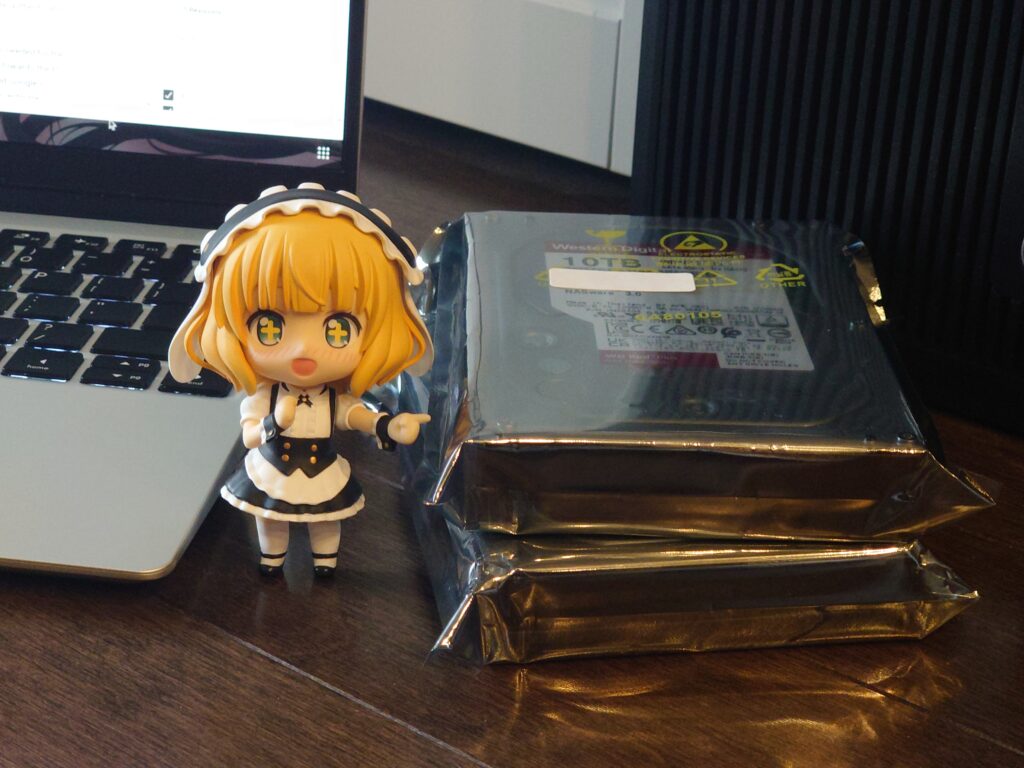
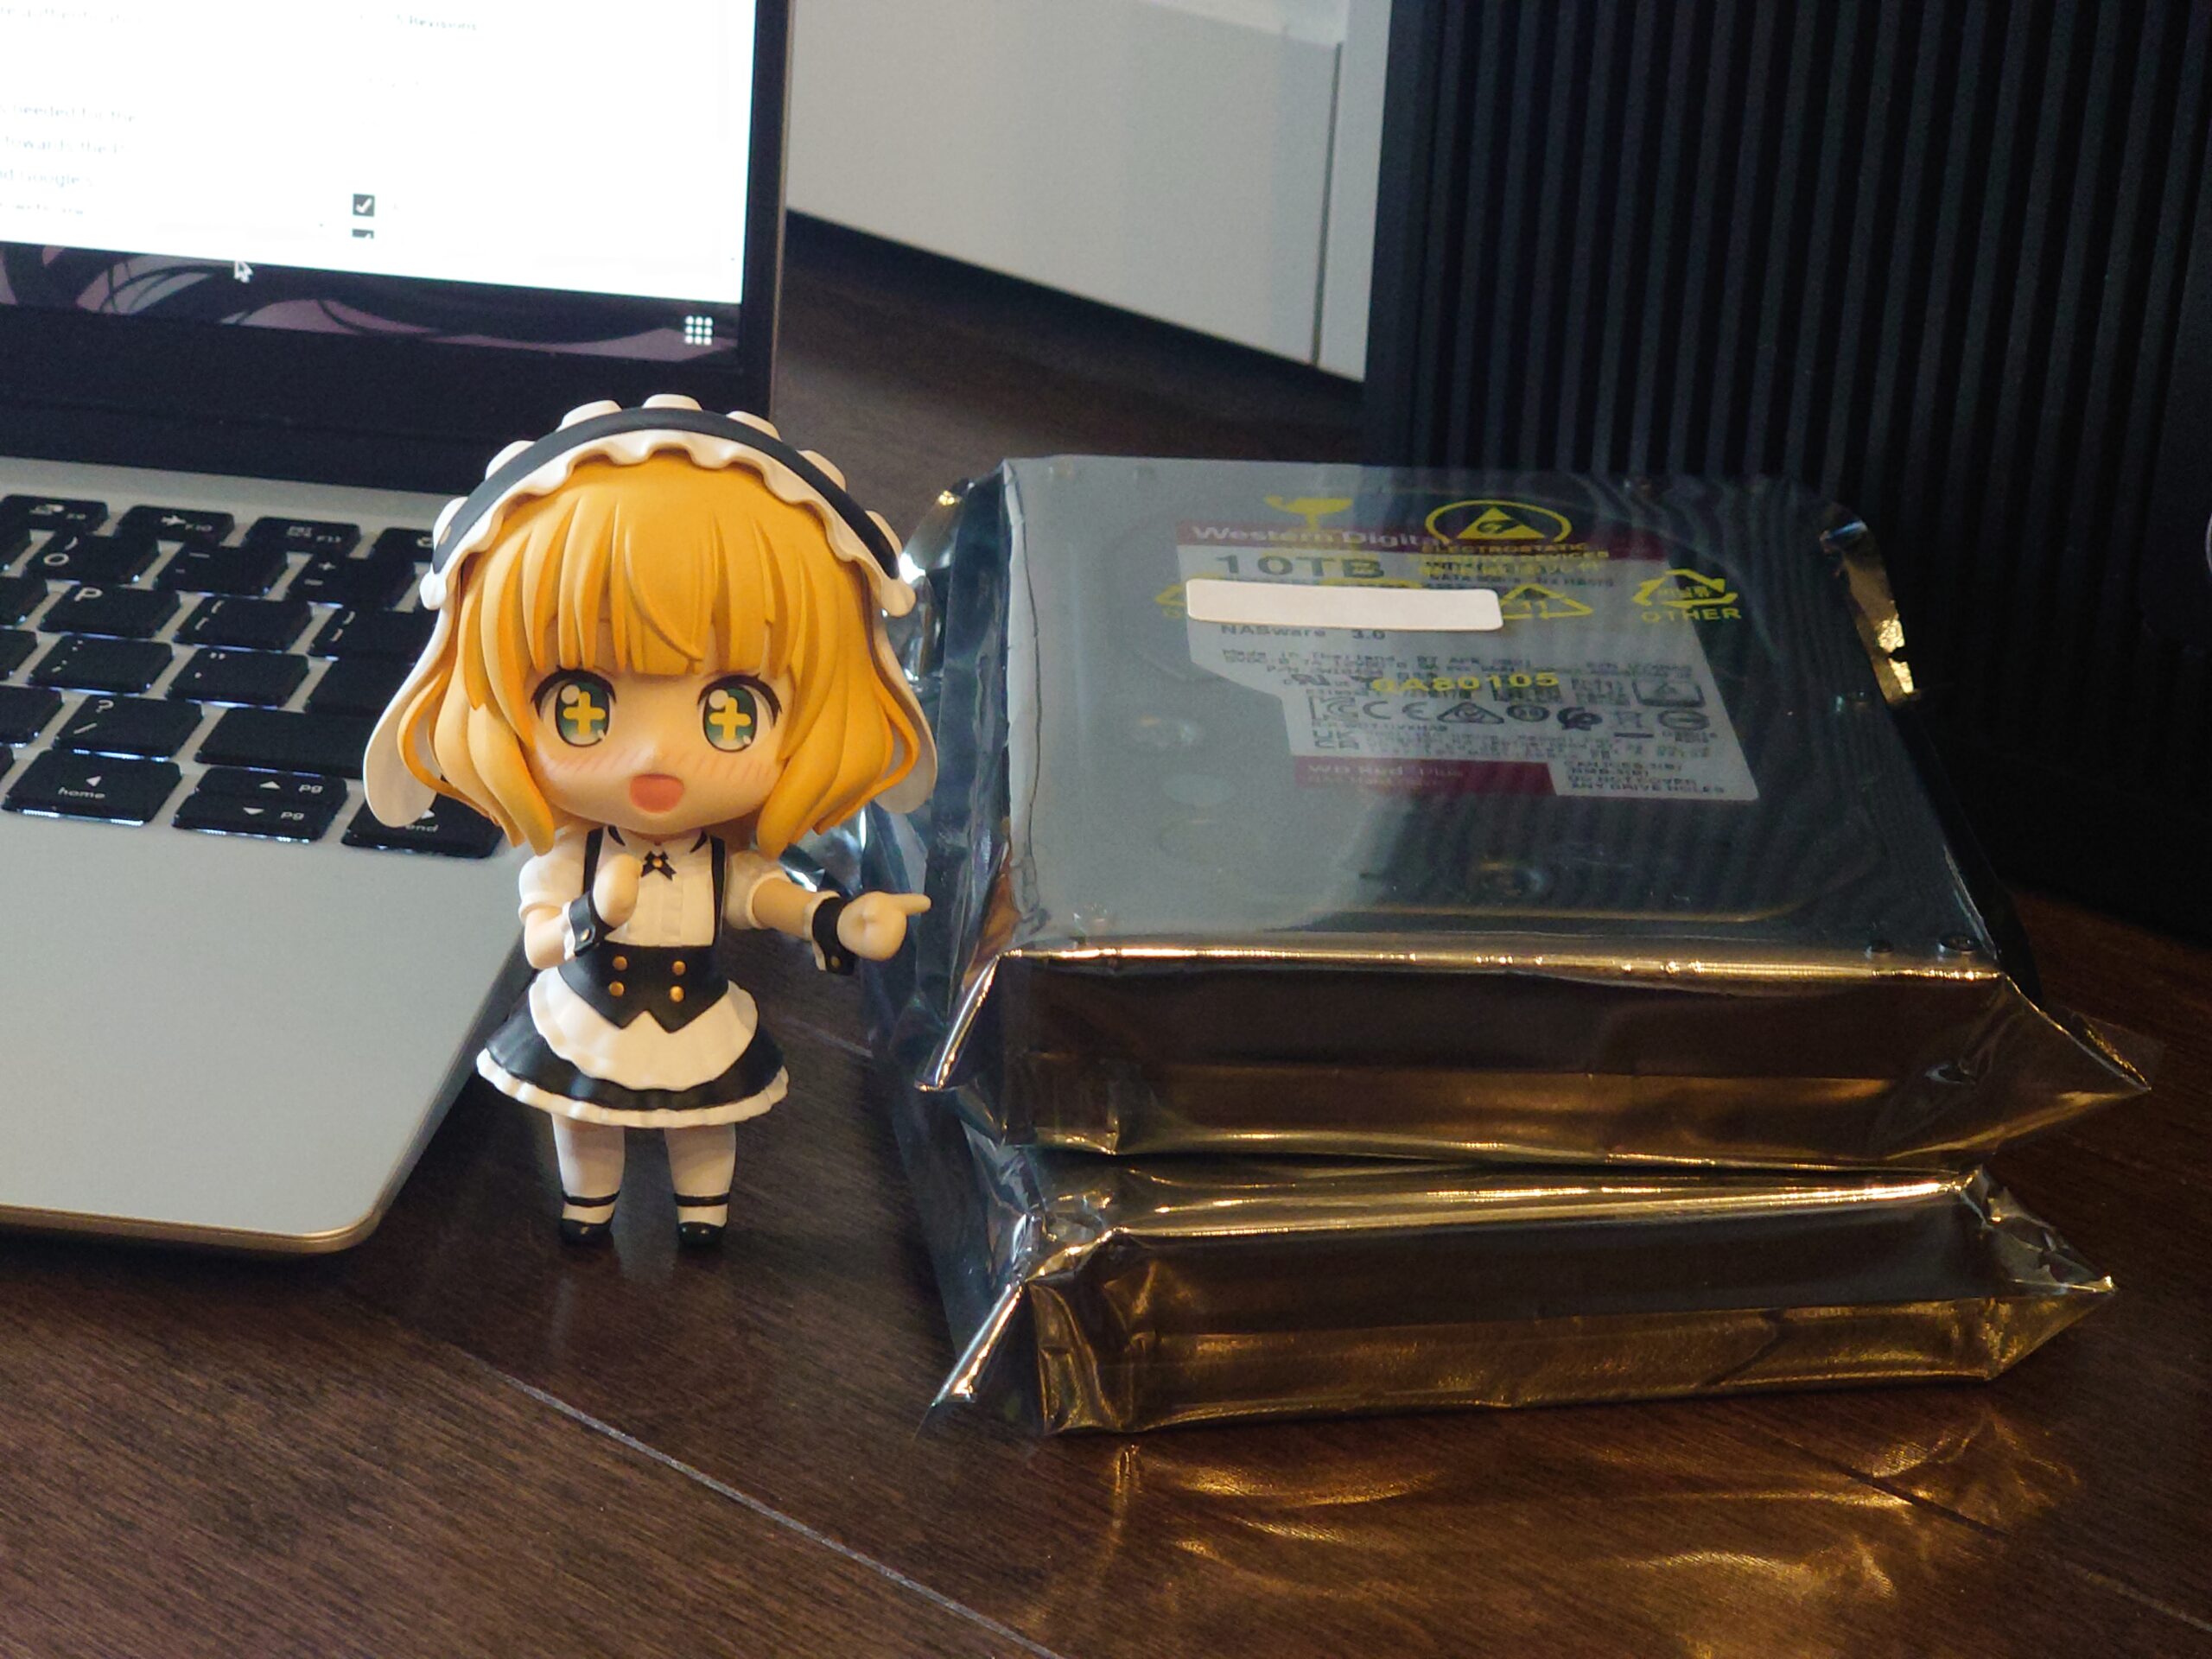
Since I started to store multiple copies of my data, I also wanted to give myself lots of breathing room with ample capacity. A couple of months back, I added 2 16TB drives to my NAS, giving me two-drive fault tolerance using Synology’s SHR-2 RAID system. Because I had it paired with 2 10TB drives, I had space that couldn’t be used. Recently, there were more sales for 16TB drives around World Backup Day, so I decided to snag another 2 drives to bring my local storage to 32TB.
When I first converted the original array from RAID 1 to SHR-2, the rebuild took more than 2 weeks, presumably because . This time around, each drive swap took around 19 hours to rebuild, which was fast in my books. Thought, this was partially due to the fact that the system was rebuilding only the used disk space. For now, I think I have enough storage to continue growing my collection of family media like photos and videos that we take.
As for my replaced 10TB drives, I’ll probably look at swapping out my older 4TB drives at my parents place with these instead to add more capacity there, and then re-purpose those 4TB drives for something else. Maybe

Ren Bot
Aside from my personal servers, I also revisited some of the infrastructure for the SFU Anime Club’s Discord bot, Ren. As a refresher, more information on SFU Anime’s Discord bot can be found in some of my previous entries:
Anyways, to sum it up, the pre-existing deployment of Ren required the creation of a virtual environment, installing our fork of Red-DiscordBot, and then running it. For development purposes, this works great.
In the following scenarios, the previous configuration falls short:
- There are system-level dependencies that aren’t captured within virtualenv. For example,
zlibis used by the QRChecker cog, which has to be installed in the underlying OS. - Bot restarts are not handled unless systemd or another related service manager is set up properly.
- Pulling updates committed to Ren requires SSH access to the underlying VM (for better or for worse).
One way to address the above would be to use a Docker image with Red-DiscordBot, which is exactly what we went for. We’re using an existing image and adding on some additional system dependencies needed for certain modules, but aside from that, everything just works. Special thanks to xXJadeRabbitXx and Tatsu for their help on getting this up and running. The source for getting it up and running is available on GitHub. The only difference is that we just had to adjust the volumes to use a bind mount instead of a named volume so that we didn’t have to migrate data and modify existing backup scripts. Everything just worked, so hurray!
Anyways, that’s all I have this time around. I do have some other interesting projects I still want to work on, so that’ll come some time later. Maybe I’ll find time to write about those, too.
Until next time!
~Lui
